
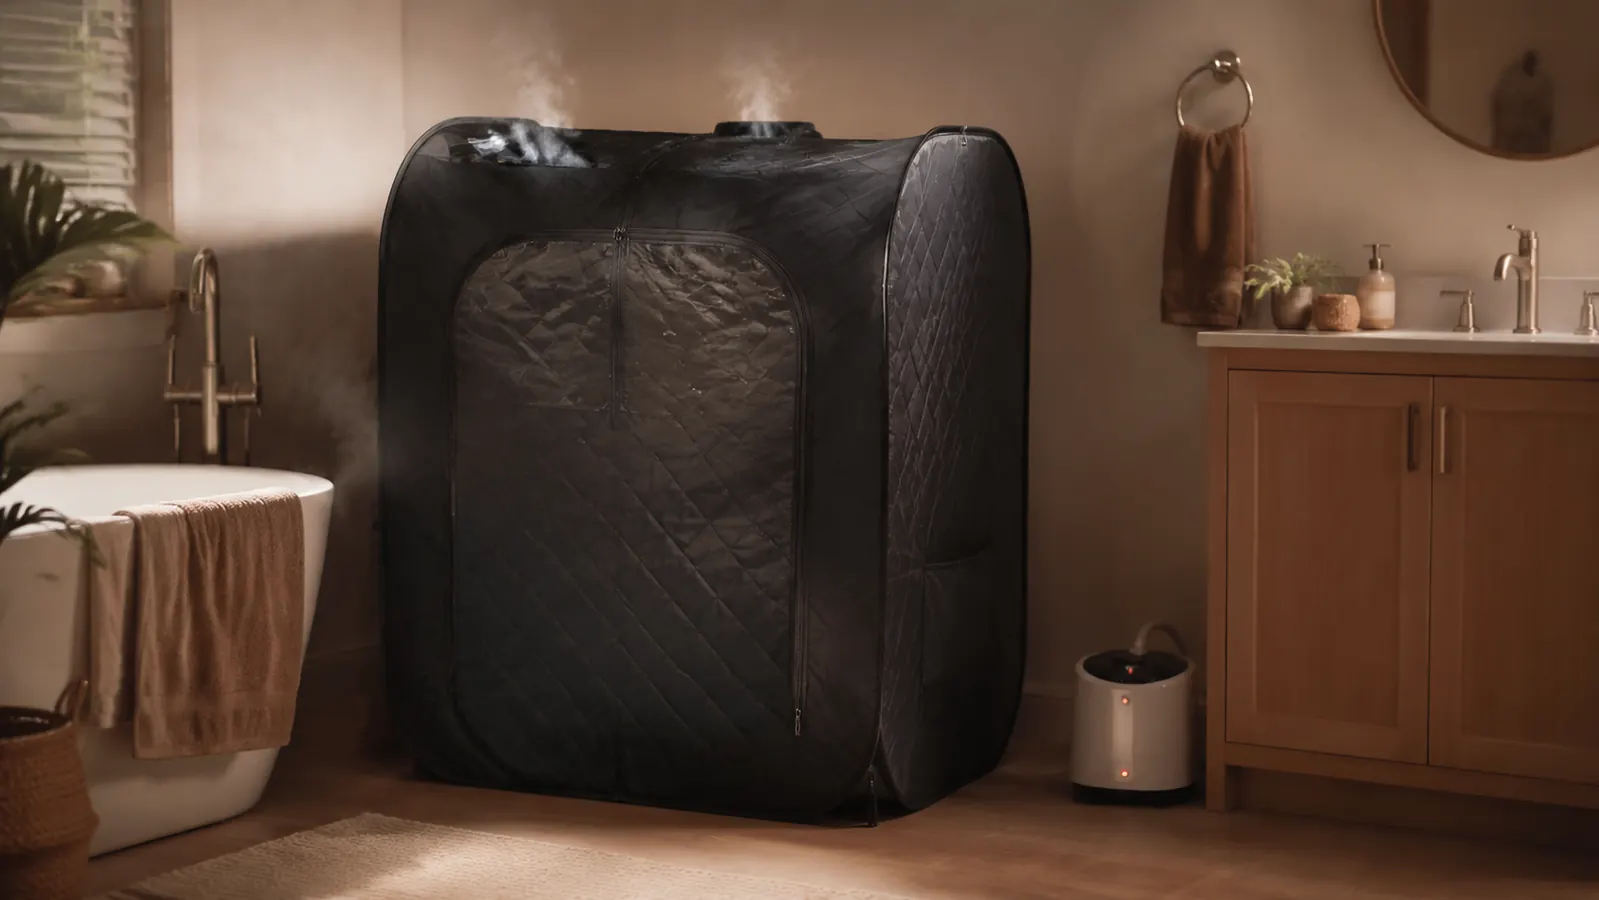
The first time I tried to set up a portable steam sauna, I made every mistake in the book. I plugged the steam generator into a power strip that was already loaded with a space heater, I forgot to check my ceiling clearance, and I spent the whole first session more worried about tripping a breaker than actually relaxing. It took me three tries to get a portable steam sauna set up in a way that felt safe, easy to repeat, and genuinely relaxing on a weeknight. This guide is the version of that process I wish someone had handed me before I started, using the Durasage Lightweight Portable Personal Steam Sauna as the reference model since it's the one I've used most often.
Setting up a portable steam sauna at home is not complicated once you know the order of operations, but the details matter more than they look like they should. Where you put it, how you fill it, and how you seal yourself in all affect whether you get real steam heat or a lukewarm tent that never quite gets there. Below are the five steps I actually follow now, plus a few habits I'd add to any home sauna setup regardless of which model you own.
Ready to Stop Guessing and Just Sit in Real Steam Heat?
The Durasage Portable Personal Steam Sauna is the model I'm using in every step below, complete with an 800-watt steam generator, a 60-minute timer, and a chair so you're not sitting on a wet floor.
Amazon Check Today's Price on Amazon →Step 1: Choose the Right Spot Before You Unbox Anything
A portable steam sauna needs about a 3-foot by 3-foot footprint and enough ceiling height to stand the tent frame up fully, which for the Durasage is a little over 4 feet. I use the corner of my guest bathroom, right next to an outlet on its own circuit, because the steam generator draws close to 800 watts and I don't want it fighting a hair dryer or space heater for power.
Flooring matters more than people expect. Steam sauna tents drip condensation, so a tile or vinyl floor with a towel underneath works better than carpet. I learned this after my first session left a damp ring on the bathroom rug that took two days to fully dry.
Ventilation is the last piece. I crack the bathroom door an inch and run the exhaust fan on low so the room doesn't turn into its own sauna. If you're setting up in a bedroom or living room instead, just make sure there's some airflow so the space doesn't stay muggy for hours afterward.
One more thing about location: I originally set up in my bedroom for convenience and regretted it. The residual humidity lingered in the carpet and curtains for hours, even with the door propped open. Bathrooms, laundry rooms, or anywhere with hard flooring and a fan handle a portable steam sauna far better than a room full of soft furniture.
If you're not sure whether an outlet is on its own circuit, run the steam generator by itself for one full session before adding anything else to that plug. I found out the hard way that my bathroom shared a circuit with the kitchen microwave, and running both at once was enough to trip the breaker mid-session, which is a genuinely unpleasant surprise when you're sitting in a sealed tent.
Step 2: Unbox and Assemble the Tent Frame
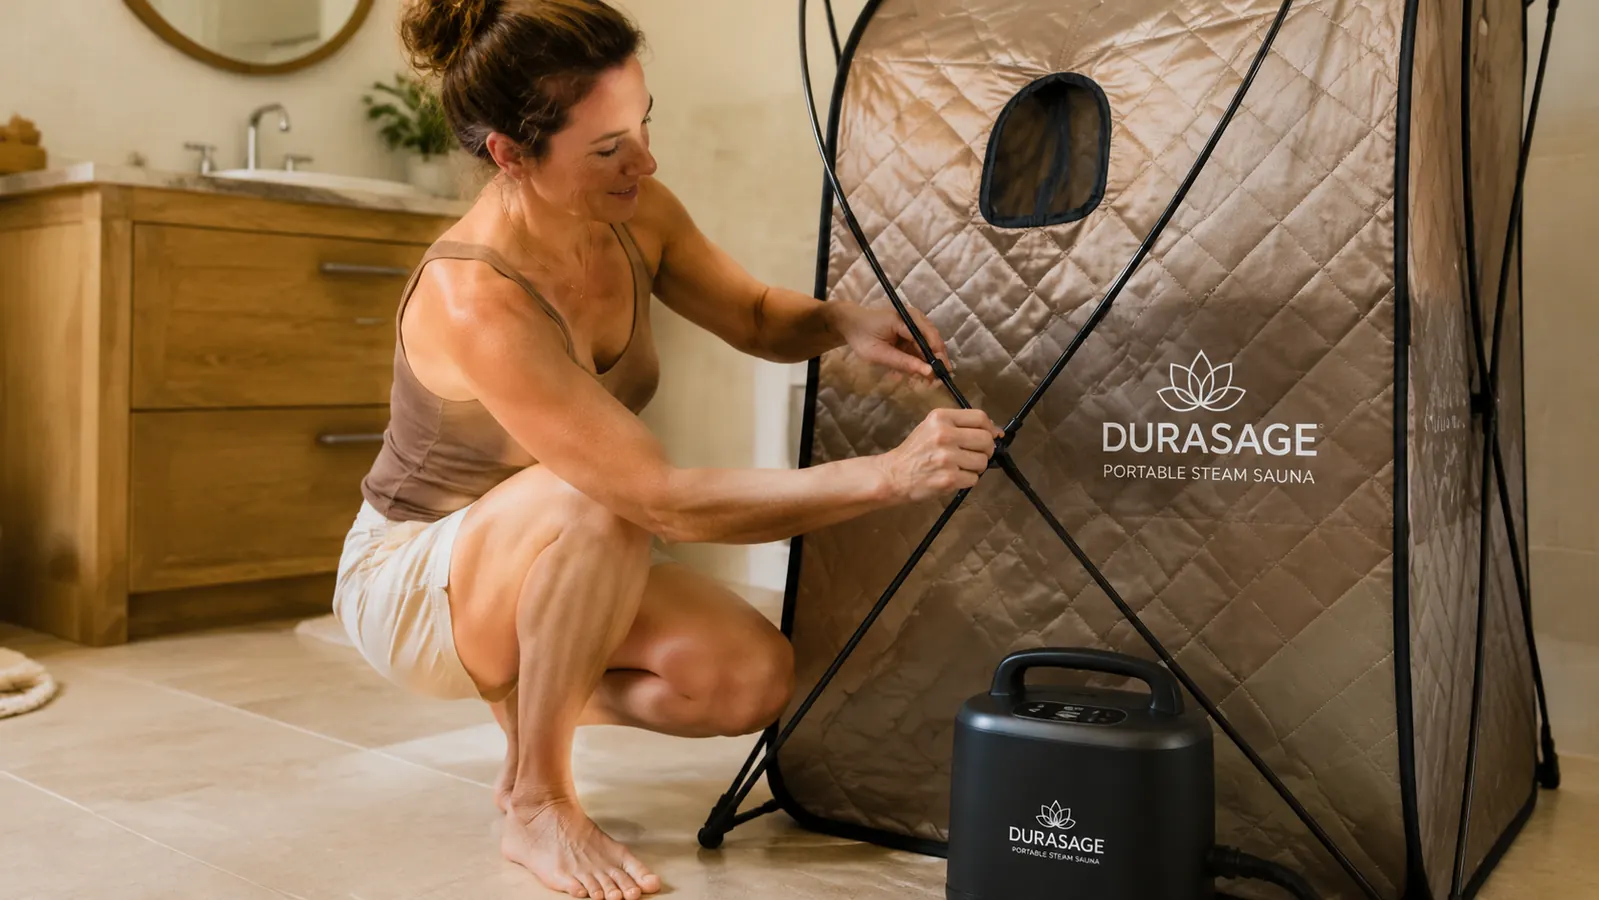
The Durasage comes as a folded tent frame, a fabric cover, a steam hose, the steam generator unit, and a small stool-style chair. Assembly took me about 12 minutes the first time and closer to 5 once I knew the sequence. The poles snap together in a simple X-frame, and the fabric cover slides over the top like a pop-up tent.
I always assemble the frame first, fully upright, before I attach the fabric. Trying to wrestle the cover onto a half-built frame is how I bent one of the support poles slightly during my first week of ownership. It's never sat perfectly square since, though it still works fine.
Once the cover is on, zip the front panel most of the way, leaving the small face opening or a partial gap so you're not sealed in before the steam even starts. The chair goes inside last, positioned so the steam hose feeds in near your feet rather than pointed at your face.
Read the pole diagram once before you start, even if you're the type who skips instructions. The Durasage frame has a couple of longer support poles that look interchangeable with the shorter ones but aren't, and forcing the wrong pole into a joint is how you crack the plastic connector. Mine survived. A friend's didn't.
Step 3: Fill and Position the Steam Generator
The steam generator sits outside the tent and connects through a hose, which is one of the details that surprised me when I first bought a portable steam sauna. Fill the reservoir with plain tap water up to the marked fill line, no more. Overfilling was my second mistake as a first-time owner, and it made the unit sputter and spit water through the hose instead of clean steam.
I keep a small measuring cup by the sauna now so I'm not eyeballing the fill line every time. It takes about 500 to 600 milliliters to reach it on the Durasage, and that's enough for a full 60-minute cycle if you're not constantly topping it off mid-session.
If you're adding aromatherapy oils, a few drops go in a small dish near the steam vent, never directly into the water reservoir. I use eucalyptus most nights and a lighter citrus blend on weekends, but that's optional. The generator will work fine with nothing but water.
I refill with fresh water every session rather than reusing standing water from the day before. It's a small habit, but stagnant water sitting in a reservoir for a few days is exactly the kind of thing that starts smelling off, and nobody wants that smell steaming a foot from their face.
My tap water runs pretty hard, so I started using filtered water in the generator after a few months of noticing a chalky white residue building up around the heating element. It's a small extra step, but it's cheaper than replacing a generator that's clogged with mineral scale, and it keeps the steam smelling cleaner too.
Step 4: Seal Yourself In and Set the Timer
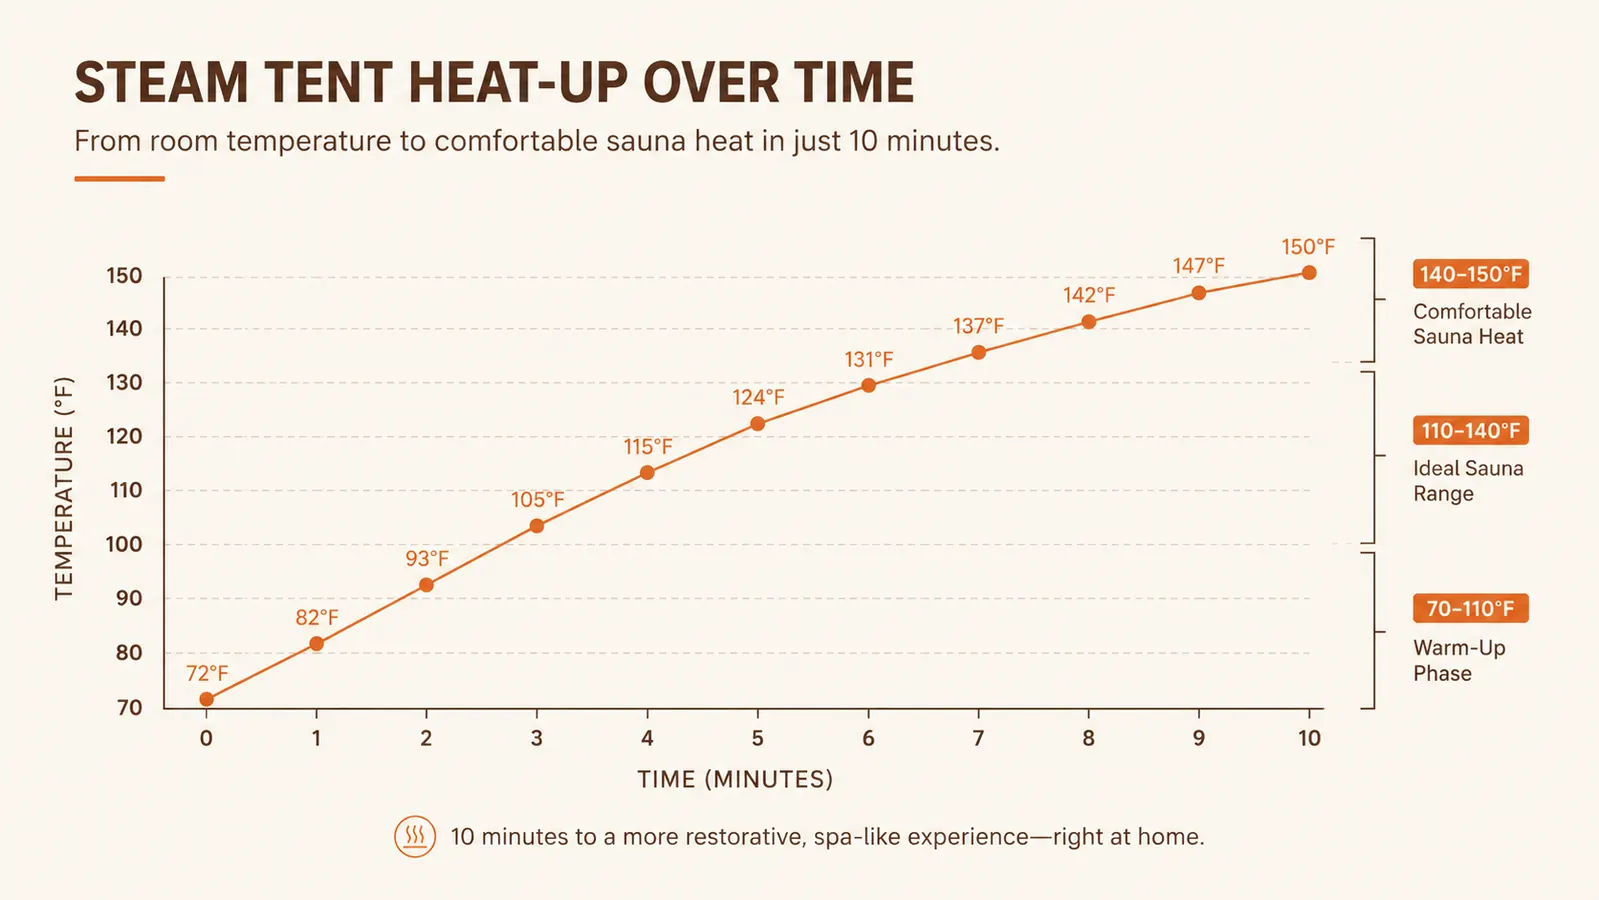
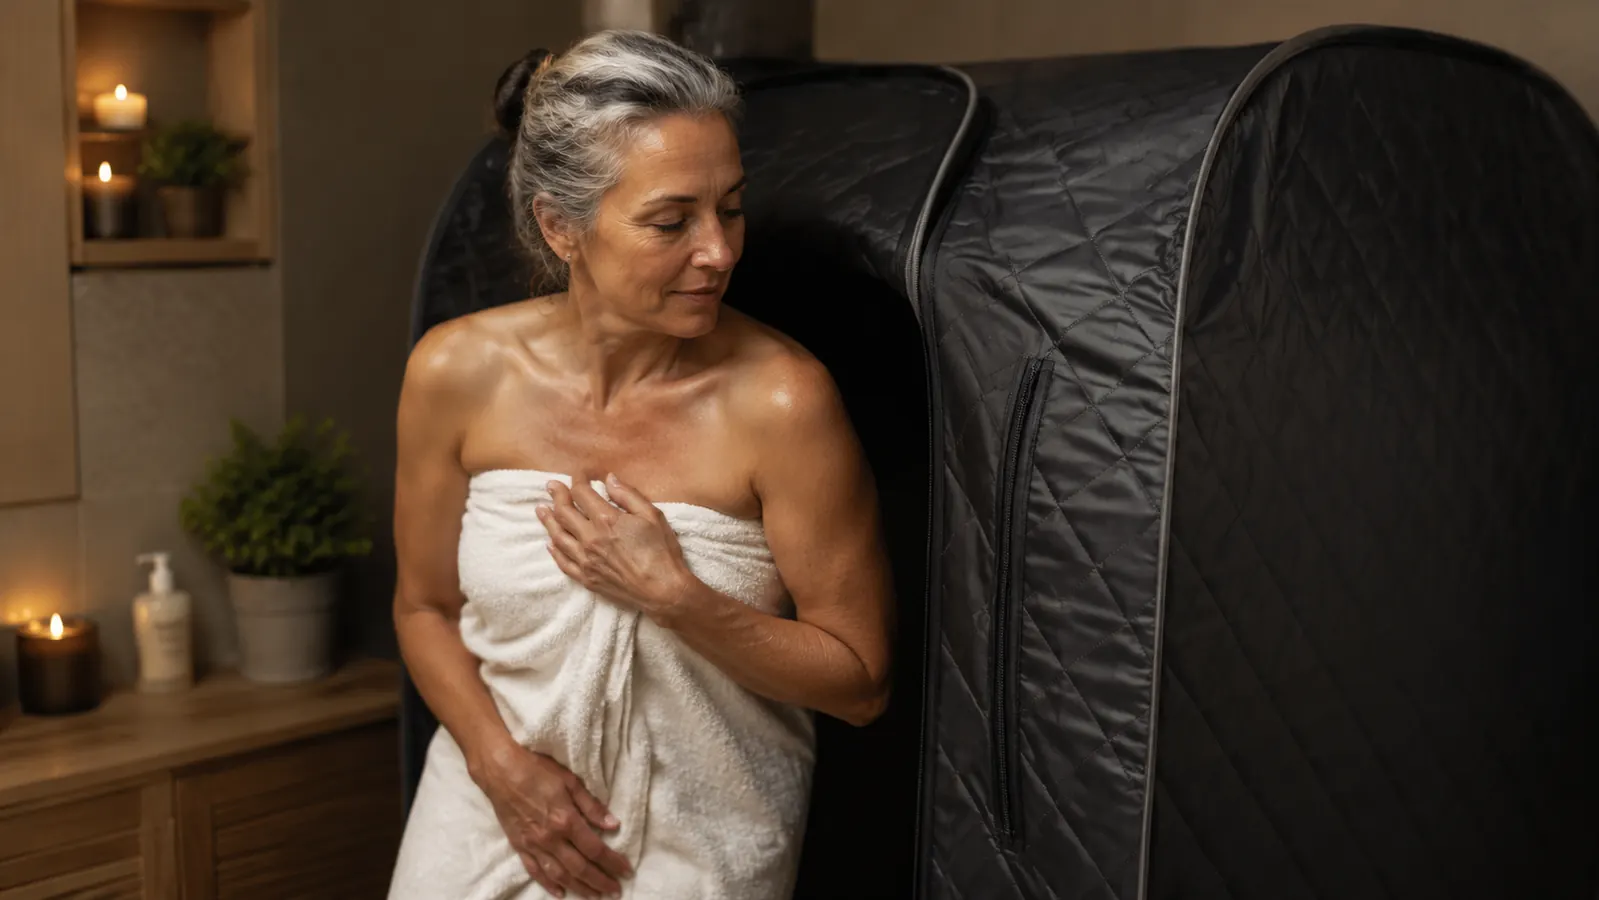
Once the generator is filled and plugged in, I sit down inside, zip the tent up to my neck, and turn the unit on. Heat-up is faster than people expect: I usually feel real steam warmth within 3 to 4 minutes, and the tent reaches a comfortable sauna temperature by the 8 to 10 minute mark, measured with a small kitchen thermometer I clipped just inside the collar opening one night out of curiosity.
The Durasage's built-in timer runs up to 60 minutes, but I rarely go past 20 to 25 on a weeknight. The first few sessions I stayed in the full hour and came out more drained than relaxed, which is the opposite of what I was going for. Start shorter and add time once you know how your body responds to sitting in steam heat.
Keep a water bottle within arm's reach before you zip in. It sounds obvious until you're sweating five minutes in and realize you left your water on the counter. I also keep a small towel inside to wipe my face without unzipping the whole tent.
If you wear glasses like I do, take them off before you zip in. Steam fogs them instantly and there's nowhere clean to set them down once you're inside. I keep a small hook on the outside of the tent frame just for that now.
Step 5: Cool Down, Ventilate, and Clean Up After Each Session
When the timer ends or I've had enough, I unzip slowly and let some of the steam vent out before standing up, since going from that heat straight into a cold bathroom can leave you a little lightheaded. I sit on the edge of the chair for a minute, towel off, then step out.
Cleanup takes about 5 minutes if you do it right after each use. I unplug the generator, drain any leftover water from the reservoir into the sink, and wipe the inside of the fabric tent down with a dry towel to cut down on lingering moisture. Leaving it damp and folded is the fastest way to get a musty smell that's hard to get rid of later.
I let the frame stand open for 15 to 20 minutes after wiping it down so the fabric actually dries before I fold it flat and slide it back into its storage bag. Skipping this step once, on a busy night, was enough to teach me it's worth the extra 20 minutes.
Every few weeks I do a deeper clean, wiping the inside fabric with a diluted vinegar solution instead of just a dry towel, then letting it air out for a full hour before folding it away. It's not required after every session, but it keeps a portable steam sauna from developing that damp-tent smell that's hard to get out once it sets in.
About once a month I also check the zipper teeth and the hose connection point for any fraying or looseness, since those are the two parts that see the most repeated stress. Catching a loose hose fitting early is a five-second fix. Catching it mid-session, with steam hissing out of a gap, is a lot more annoying.
What Else Helps Once You've Got the Basics Down
Once the core setup became routine, I started noticing what made individual sessions better rather than just functional. A simple wooden backrest changed how long I could comfortably sit through a full session, since the included stool on most portable units isn't built for leaning back. A small aromatherapy dish next to the steam vent turned a plain steam session into something closer to a spa night, especially on evenings when I wanted the wind-down to feel more deliberate. Neither is required to get a portable steam sauna running, but both are worth adding once you've done a handful of sessions and know you'll keep using it.
A dedicated backrest, something like the Wiiyita sauna backrest I've since added, fits over almost any barrel or portable frame and takes the pressure off your lower back during longer sessions. I didn't think I needed one until I sat through a 25-minute session without it and felt it in my spine the next morning.
A basic kitchen thermometer clipped near the collar opening is worth the two dollars it costs, mostly so you know roughly what you're sitting in rather than guessing. And keeping a small stack of towels, one for your face, one for the floor, one for after, means you're not scrambling mid-session to find something dry.
The setup itself only takes a few minutes once you've done it twice. It's the small habits around it, filling the reservoir right, cooling down slowly, drying the tent before folding it away, that decide whether it becomes a weekly ritual or a folded-up box in your closet.
Set Up Once, Use It All Winter
If you're ready to start your own routine, the Durasage Portable Personal Steam Sauna is the model in every step above, chair and 60-minute timer included.
Amazon Check Today's Price on Amazon →